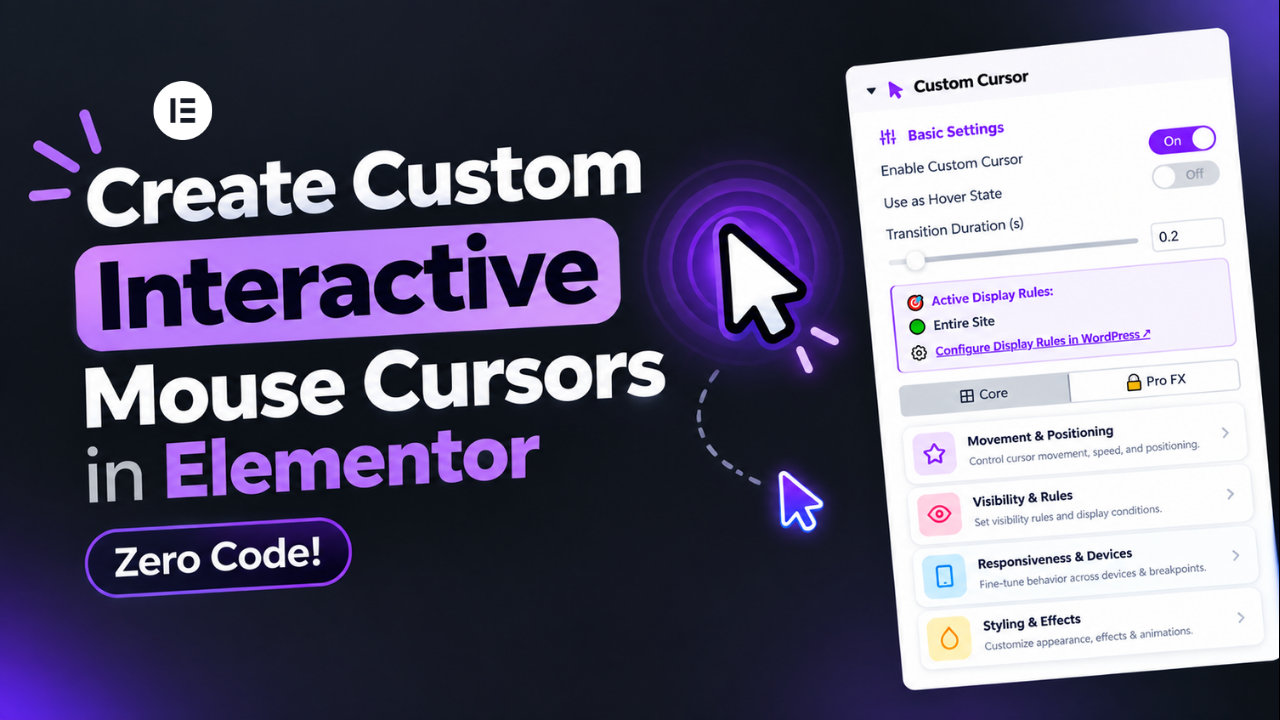
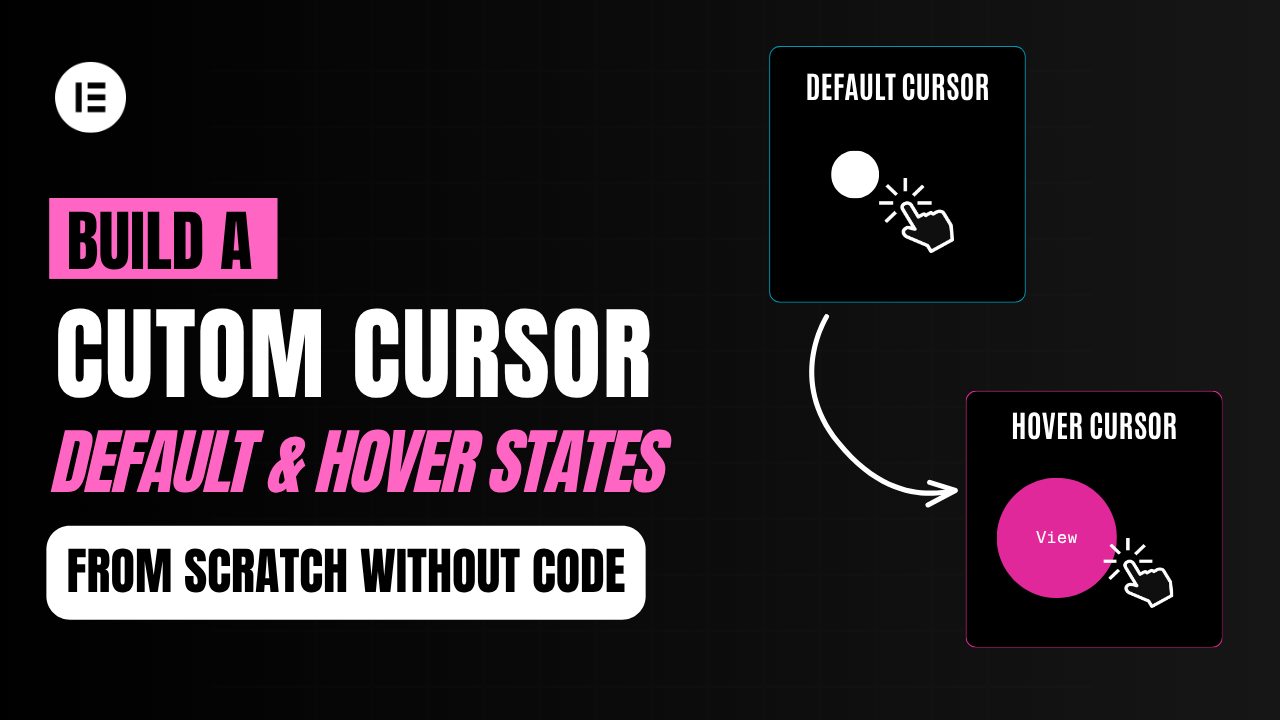
Want to create a custom interactive mouse cursor in Elementor without writing CSS or JavaScript? With the right approach, you can turn almost any Elementor design into a unique custom cursor and add interactive effects to make your website feel more engaging.
In this complete guide, you’ll learn how to create a custom mouse cursor in Elementor, design it using the Elementor editor, add interactive effects, and control where the cursor appears on your website — all without writing custom code.
We’ll use CursorCraft – Cursor Builder for Elementor to create the cursor.
You can also watch the complete video tutorial:
A custom cursor replaces or enhances the standard mouse pointer with a visual element designed specifically for your website.
Instead of using only the default arrow cursor, you can create a cursor containing:
You can use the same Elementor design tools you’re already familiar with to create something much more customized.
Before getting started, you’ll need:
CursorCraft works as a cursor builder for Elementor, allowing you to design your cursor using Elementor’s visual editor.
The basic idea is simple:
This means you don’t need to manually create complicated JavaScript or CSS to build the cursor experience.
First, install the CursorCraft plugin on your WordPress website.
Install and activate the plugin.
Once activated, you’ll be able to access the cursor builder and start creating your custom cursor.
After activating CursorCraft, create a new cursor.
The important part is that the cursor itself can be designed using Elementor.
Instead of designing a cursor as a separate image, you can create an Elementor layout and use that layout as your cursor.
This gives you much more flexibility than a traditional custom cursor plugin that only allows you to upload an image.
Open your cursor design in Elementor and customize it just like you would design any other Elementor section or container.
You can create circular cursors, rectangular badges, rounded elements, abstract shapes, or more complex designs using Elementor containers.
Because you’re working inside Elementor, you can control typography, spacing, borders, shadows, backgrounds, and other styling options.
Now that you’ve created and designed your container, it’s time to turn that Elementor container into your custom mouse cursor.
Once enabled, CursorCraft will use the Elementor container you created as the visual cursor that follows the visitor’s mouse movement.
After enabling the container as the cursor, preview the page and move your mouse around the website. You should see your Elementor-designed container following the pointer.
You don’t necessarily want the same cursor to appear on every page.
CursorCraft allows you to control where your cursor is displayed using display conditions.
Depending on your setup, you can target areas such as:
The goal shouldn’t be to add as many effects as possible. Instead, choose effects that support the design and purpose of your website.
CursorCraft provides a free way to start creating custom cursors in Elementor, while additional features can be available through Pro.
With CursorCraft, you can design your cursor using Elementor, add interactive effects, create multiple cursor designs, and control where each cursor appears on your website.
Start with something simple — such as a text or icon cursor — and then experiment with hover effects, cursor trails, magnetic interactions, and other advanced effects.
If you’re just starting, begin with a simple cursor and gradually experiment with more advanced effects.